
Materials:
- Notebook (I use the Piccadilly Essential Large Notebook)
- Black Pen (I use the Rolling Ball Precise V5)
- Glue stick
- Old Magazines
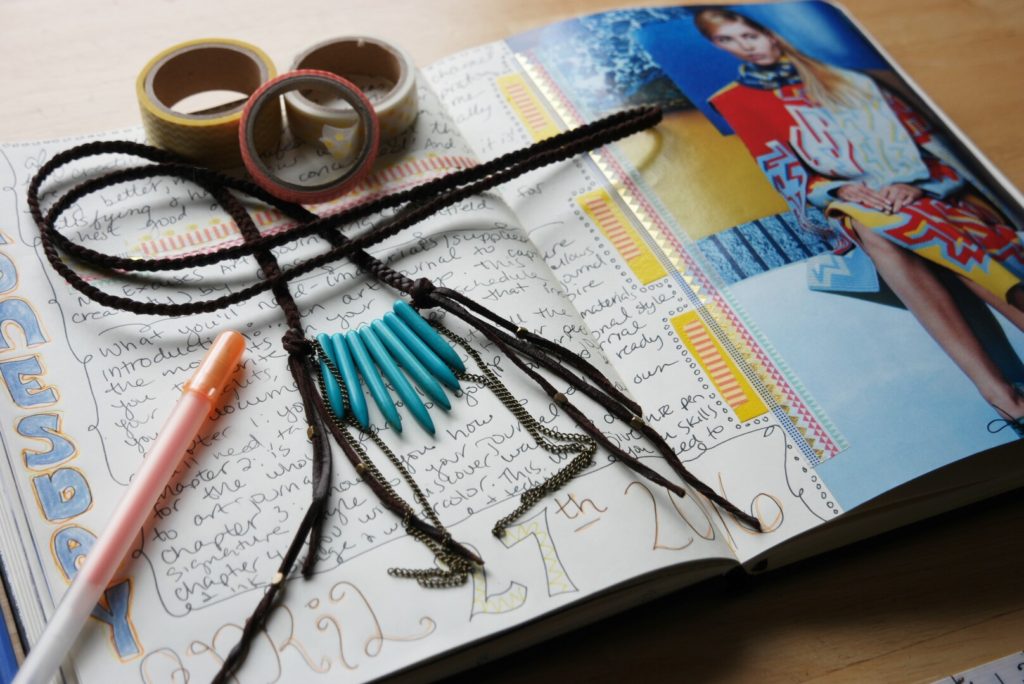
- Washi Tape or Colorful Duct Tape
- Colored Pencils, Markers, and/or Gel Pens
Here is my go-to method for fast and easy, creative journaling. Grab a cup of coffee or your favorite tea, some old magazines and start looking through them. Rip out anything that catches your eye–keep this pile handy for future use. Do not spend too much time looking through the magazines, 5-10 minutes max. Open your notebook/ journal to a blank page.

1. Number your pages. I usually pre-number 15-25 pages ahead of time and pre-number more pages as I go along. Next, write the date–start with the day, month, and year. I like writing the date in different font styles. Don’t spend too much time agonizing over the fonts though. Have fun with it. Next, doodle around the date.

2. Skim through your magazine clippings and find a focal image you like. Paste the image down with a glue stick. Make sure you burnish the image to the page really well to prevent any air bubbles or creases. Then flip the page over and cut any excess paper that is hanging off the edge.

3. Find some decorative Washi Tape or Duct Tape that brings out the colors of the focal image. I choose yellow Duct Tape (I wanted red Duct Tape but mine was old and funky). Personally, I like Washi Tape better than Duct Tape, but I use both in my journals. Duct Tape is really sticky, hard to cut, and gets my scissors all gunky (I use acetone to clean my scissors).

4. Add even more decorative tape accents. I put Washi Tape on top of the yellow Duct Tape.

5. Have fun and doodle!
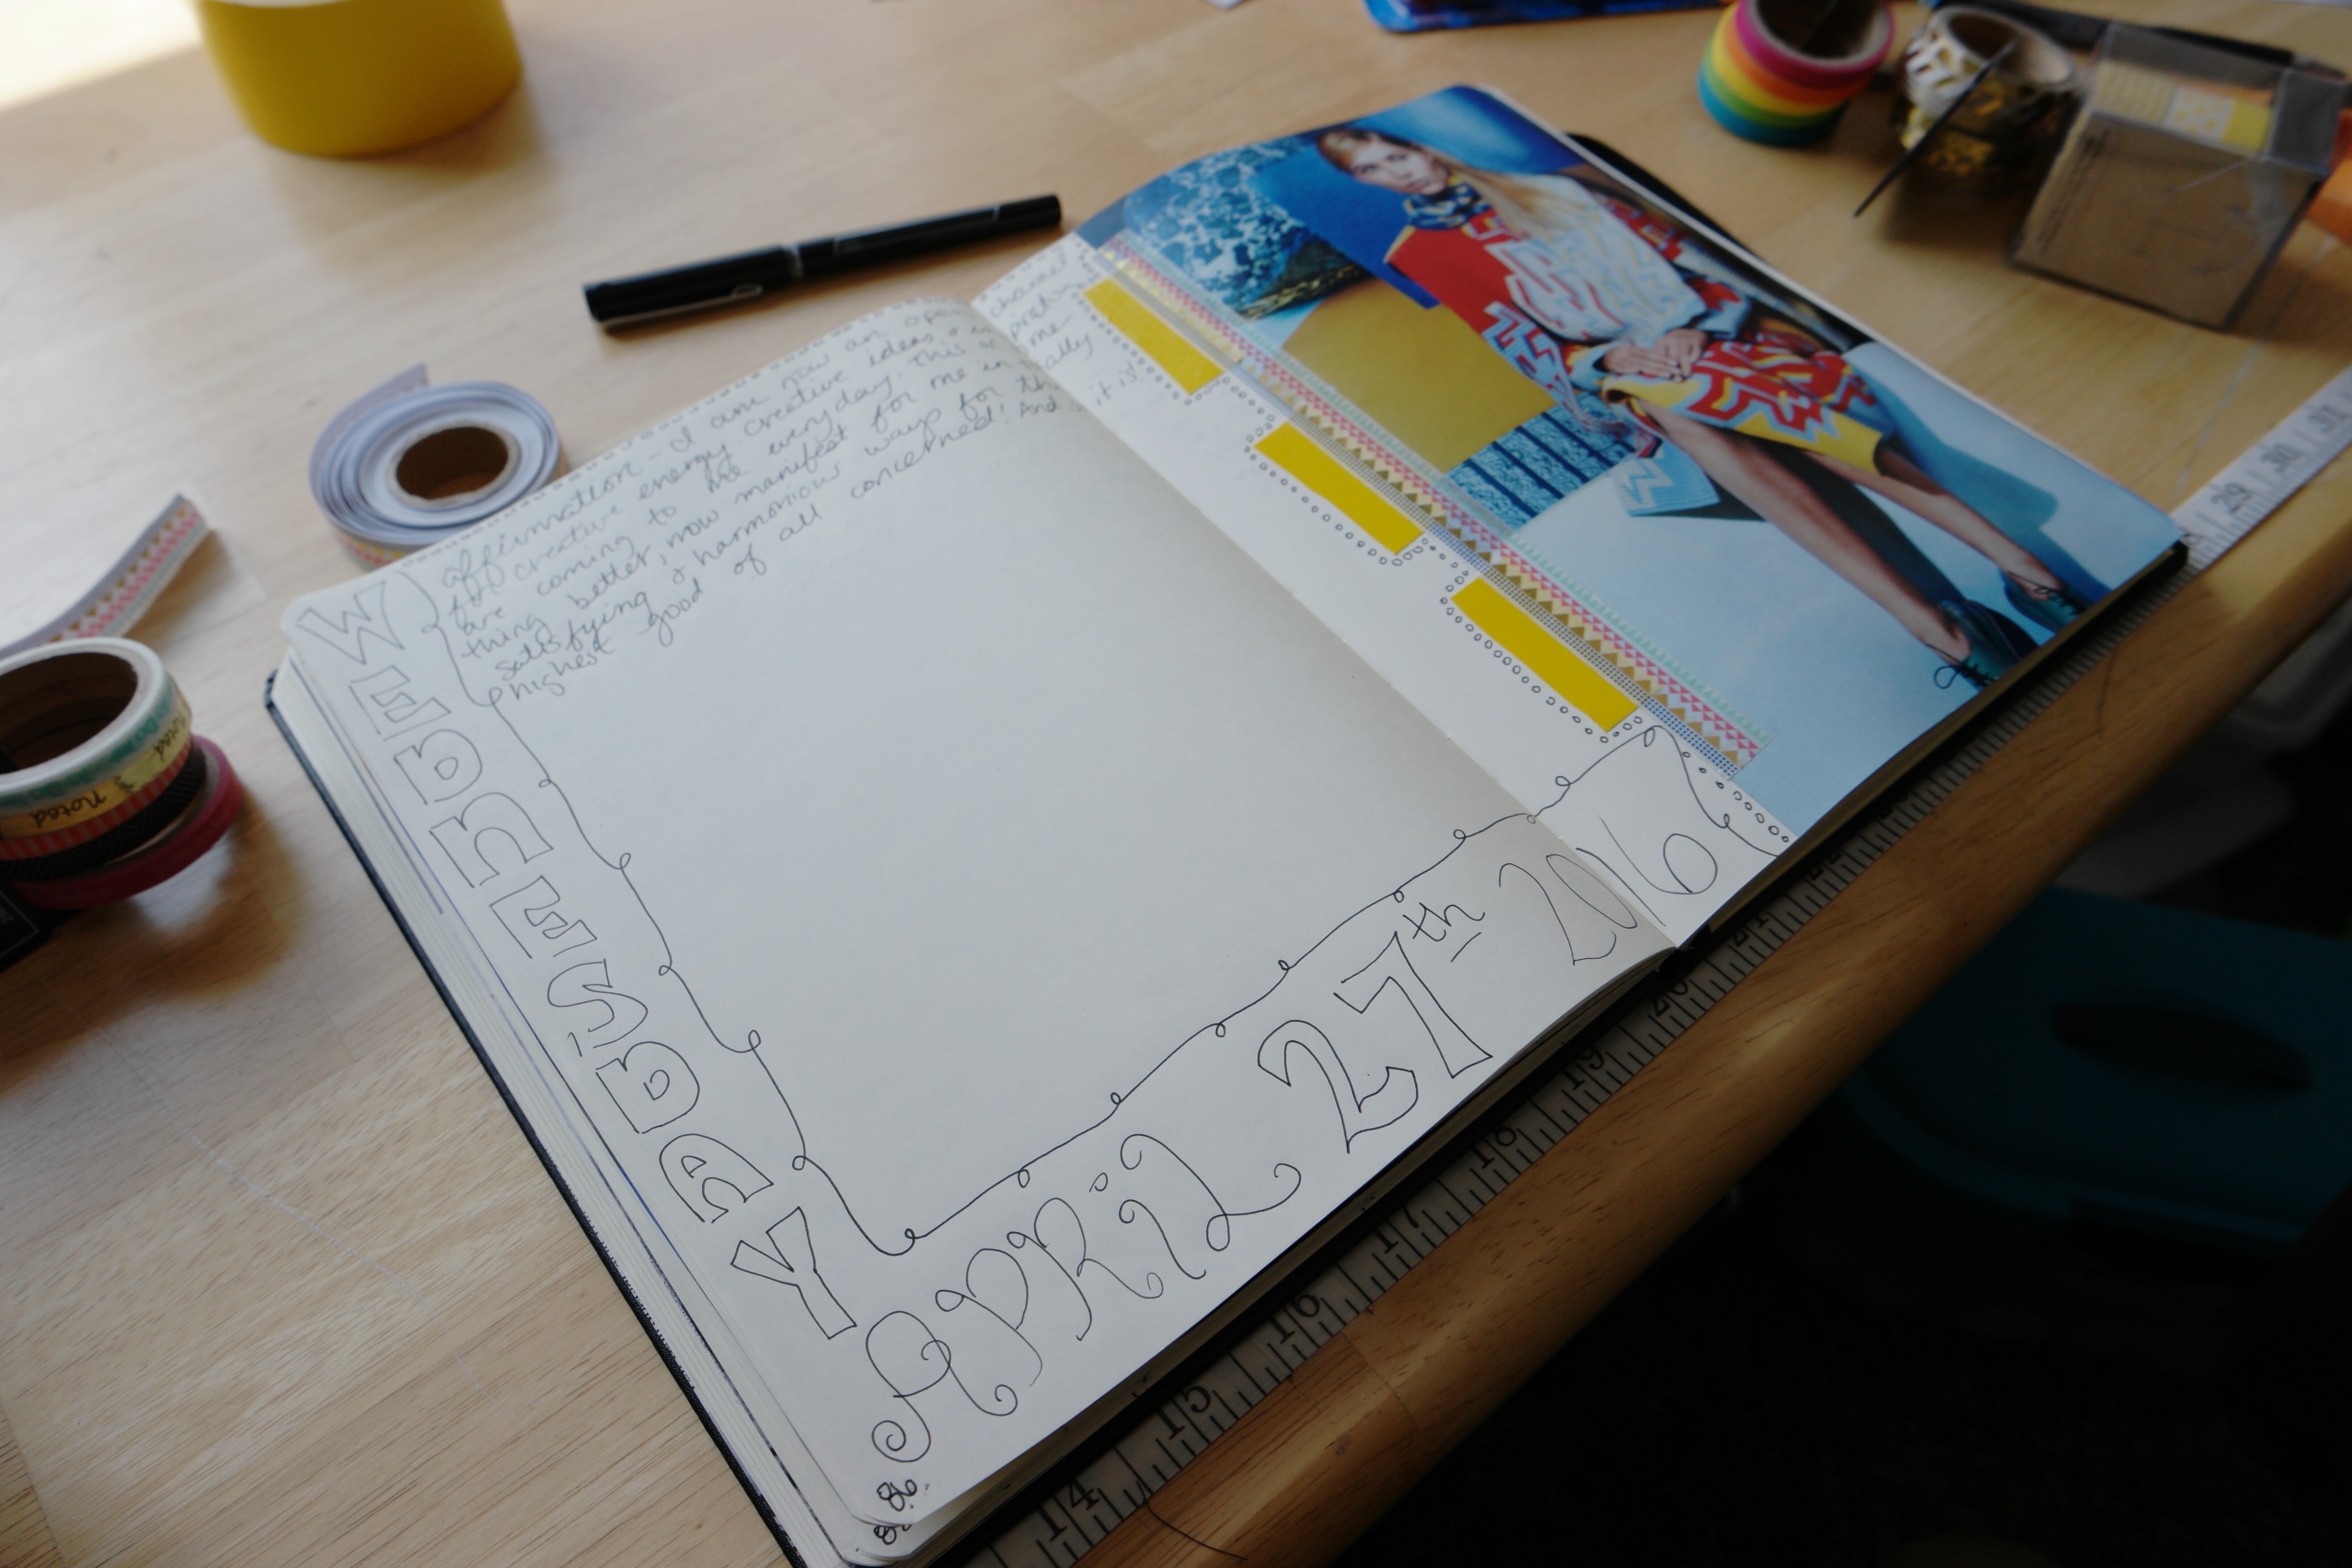
6. Begin writing. You can use prompts (an inspirational quote, song lyrics, etc.) or just free write whatever is on your mind. I started this page with an affirmation centered on creativity–that’s my area of focus right now. More importantly, writing and developing this blog. It seems to be working! 🙂 I really enjoy this specific affirmation and I repeat it in other journal entries.

7. Add more Washi Tape to break up the page. I layered three different types of Washi Tape on top of each other on the left side. And I added the orange Washi Tape on top of the Duct Tape. Get as creative as you want!

8. Next, fill the entire page with writing. Journal your thoughts, goals, ideas or take notes from your favorite book. Anything you feel like writing, get it down on paper!

9. Finish the page by coloring in the date. I used colored pencils and Sakura Glaze Gel Pens. Use whatever you like–colored pencils, markers, crayons, or gel pens.
Sometimes the hardest part is starting. I like this method a lot. It only takes 10-15 min and it always looks nice. The visual elements add a pop of color and make the page fun. Not all my pages have pictures or color –some are very boring and ugly. When I look through my notebooks I always love these pages best though.
The most important thing is have fun! Don’t stress about perfection. Enjoy the process and learn as you go.
Pingback:Creative Journaling Tutorial – Trendovy Creativity